The HP Envy x360 uses a two-key BIOS recovery combination — Windows logo key + B — to reflash the BIOS firmware from a USB drive or from a backup stored in flash memory, without needing a working operating system. This procedure is also called HP Emergency BIOS Recovery or HP Sure Start recovery. If your Envy x360 will not post, shows a black screen after a failed BIOS update, or is stuck in a reboot loop before Windows loads, this guide walks through the exact steps to use the recovery procedure correctly.
Step 1 – Understand When to Use the Windows + B Recovery
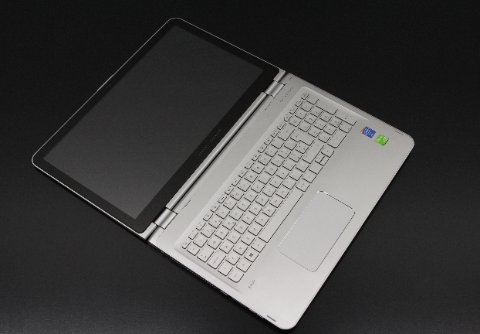
- Use the Windows + B key recovery when the laptop powers on but the screen stays black and never reaches the HP logo — this indicates the BIOS firmware image is corrupted or incomplete.
- Do not use this procedure for Windows boot failures, blue screens, or driver errors — those require Windows Recovery Environment (WinRE), not BIOS recovery.
- Confirm AC power is connected before starting. The recovery process will abort if power is lost mid-flash.
- If the Envy x360 failed during an HP BIOS update and now shows only a black screen or blinking cursor, this is exactly the scenario this recovery is designed for.
Step 2 – Prepare a HP BIOS Recovery USB Drive (If Needed)
- On another computer, go to support.hp.com and enter your Envy x360 serial number (on the bottom label or original box).
- Download the latest BIOS update file for your exact model. HP BIOS files for the Envy x360 are typically delivered as a
.exeself-extractor. - Format a USB flash drive as FAT32. Run the downloaded
.exeand choose Create Recovery USB, or extract files directly to the root of the USB drive. - The USB drive should contain a file named
HPBIOS_Recovery.binor similar in the root directory — not inside a folder. - If your Envy x360 supports HP Sure Start (most 2018+ models do), it already has a BIOS backup in protected flash memory — the USB drive may not be necessary. Try the built-in recovery first (Step 3).
Step 3 – Perform the Windows + B BIOS Recovery
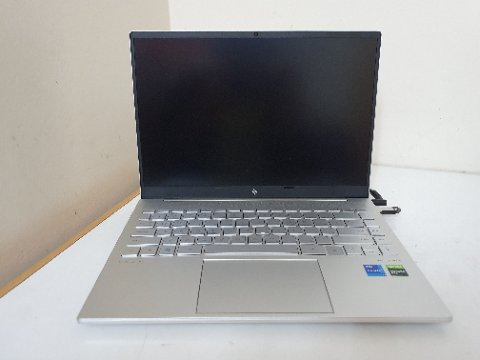
- Shut down the Envy x360 completely. If it will not shut down normally, hold the power button for 10 seconds.
- If using a recovery USB drive, insert it into a USB-A port now.
- Hold down the Windows logo key (between Ctrl and Alt on the left side) and the B key simultaneously.
- While holding both keys, press and hold the Power button for 2–3 seconds, then release the power button only — keep holding Windows + B.
- The screen may remain black for 30–60 seconds and the power LED may blink. This is normal — the system is locating the BIOS recovery image.
- When the HP BIOS Update screen appears, release Windows + B. The recovery proceeds automatically — do not press any keys or disconnect power.
- The system restarts automatically when flashing is complete. Allow it to boot normally into Windows.
Per HP’s official BIOS recovery documentation, “HP Sure Start automatically detects a corrupted BIOS during POST and initiates recovery from the protected backup copy without user intervention on supported platforms. The Windows + B method forces this process manually.”
Step 4 – If Windows + B Does Not Trigger Recovery
- Try the alternate combination: Windows logo key + V. Some older Envy x360 models use this instead of Windows + B.
- Ensure you are pressing the physical Windows logo key on the keyboard — not a software shortcut. It must be held before the power button is pressed.
- Try with the USB recovery drive inserted if you attempted without one previously.
- If no combination works, connect an external monitor via HDMI — some Envy x360 units with display driver corruption show the recovery screen on external output only.
- As a last resort, contact HP Support — units under warranty may qualify for a mail-in BIOS reflash service.
Step 5 – After Recovery: Restore BIOS Settings and Update
- After booting into Windows, open HP Support Assistant → My devices → Updates and check for a newer BIOS version. Install it to replace the recovered version with the latest stable release.
- Enter BIOS (press Esc at the HP logo, then F10) and verify your settings — recovery resets BIOS to factory defaults, so Secure Boot, boot order, and custom configurations must be reconfigured.
- Re-enable Secure Boot: BIOS → Security → Secure Boot → Enabled.
- If the original BIOS update failed due to a low battery warning, ensure the battery is charged above 50% before attempting any future BIOS update.
Frequently Asked Questions
What is the difference between Windows + B and Windows + V recovery on HP Envy x360?
Both trigger BIOS emergency recovery. Windows + B is the standard method on most post-2018 Envy x360 models. Windows + V is used on some older Envy models and certain ProBook/EliteBook variants. Try Windows + B first; if it fails, try Windows + V.
Will the BIOS recovery erase my Windows files?
No. BIOS recovery only reflashes the UEFI firmware chip — it does not touch the storage drive or any Windows data. Your files, applications, and Windows installation remain intact.
My Envy x360 shows the recovery screen but freezes mid-flash — what do I do?
A freeze mid-flash usually means the USB recovery file is incompatible or corrupt. Download a fresh copy from support.hp.com, ensure the USB drive is FAT32 with the BIOS file in the root directory, and retry. Do not power off during a flash — wait at least 5 minutes before a forced shutdown to rule out a slow write.
Can I use Windows + B to downgrade the BIOS?
Only if you place an older BIOS recovery file on the USB drive. HP sometimes locks downgrade capability in firmware — if the recovery rejects the older file, downgrade is blocked at the hardware level.
Conclusion
The HP Envy x360 Windows + B key BIOS recovery is a reliable built-in rescue path for a black-screen laptop that will not POST after a failed or corrupted BIOS update. On most 2018 and later Envy x360 models, HP Sure Start provides automatic recovery from protected flash memory — the Windows + B combination forces this process when the laptop cannot self-diagnose the corruption. After recovery, always update to the latest BIOS via HP Support Assistant and re-verify your BIOS security settings before returning the laptop to normal use.
Leave a Reply