A failed or unstable Dell XPS 13 BIOS update can leave the system unable to boot, stuck in a boot loop, or behaving erratically after an otherwise successful flash. Dell provides a BIOS rollback path through both the BIOS setup screen and a USB recovery method. This guide covers both approaches and explains how to prevent automatic BIOS updates from pushing unstable versions in the future.
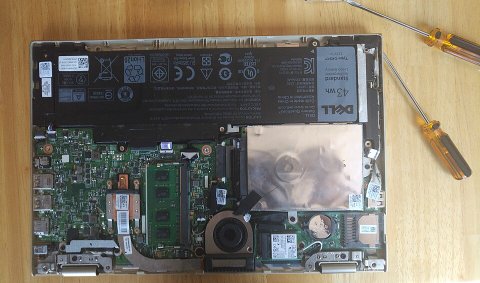
Step 1 – Determine Whether Rollback Is Possible from BIOS Setup
- Restart the XPS 13 and press F2 at the Dell logo to enter BIOS Setup.
- Navigate to Maintenance → BIOS Downgrade or look for a Previous BIOS Version option. On XPS 13 models with Dell’s dual-BIOS storage, a one-click rollback to the previous version is available from this menu.
- If the option is greyed out or absent, it means the previous version was overwritten or the system only stores one BIOS image. Proceed to Step 3 for USB-based recovery.
Step 2 – Roll Back from BIOS Setup (If Option Available)
- Select BIOS Downgrade → Previous Version and confirm. The system initiates a flash to the stored previous version.
- Do not power off during the flash. The process takes 3–5 minutes and the system reboots automatically on completion.
- After reboot, press F2 and confirm the BIOS version has reverted (shown on the main BIOS info page).
Step 3 – Download the Target BIOS Version from Dell Support
- On a working computer, go to dell.com/support and enter your XPS 13 service tag.
- Navigate to Drivers & Downloads → BIOS. The page shows the current and previous BIOS versions available. Identify the last known stable version — typically the one before the problematic update.
- Click the older version entry and download the .exe BIOS update file.
Per Dell’s BIOS management documentation, “Dell XPS systems support BIOS version rollback to the immediately preceding version. Rolling back two or more versions requires flashing each intermediate version sequentially, as the BIOS verifier may reject non-consecutive downgrades.”
Step 4 – Flash the Older BIOS Version via USB (Offline Method)
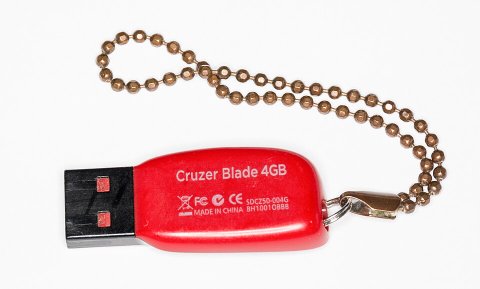
- Copy the downloaded BIOS .exe file to the root of a FAT32-formatted USB drive.
- Power off the XPS 13 completely. Connect AC power — do not attempt a BIOS flash on battery alone.
- Press and hold Ctrl + Esc, then press the power button. Release both when the Dell logo appears. This boots the system into the pre-boot BIOS flash utility.
- Navigate to the USB drive using the arrow keys and select the BIOS file. Confirm the flash and wait for completion without interruption.
- The system reboots automatically after flashing. Verify the BIOS version in F2 setup.
Step 5 – Prevent Automatic BIOS Updates Going Forward
| Method | How to Apply |
|---|---|
| Disable Dell auto-update in SupportAssist | Open SupportAssist → Settings → uncheck Automatically keep my Dell up to date |
| Disable BIOS update via BIOS setup | F2 → Maintenance → Data Vault → disable BIOS Auto-Recovery |
| Block BIOS update via Windows Update | Settings → Windows Update → Advanced options → Optional updates → uncheck BIOS firmware entries |

Frequently Asked Questions
The XPS 13 will not boot at all after the BIOS update — how do I access the flash utility?
If the system does not reach the Dell logo, try the hardware recovery combination: hold Ctrl + Esc and press the power button. Some XPS 13 models also support holding the Windows logo key + B combination. If neither works, the BIOS chip may require reflashing at a service center.
Dell Support only shows the current broken BIOS version — the older version is not listed.
Older BIOS versions are sometimes removed from the driver page. Search Dell’s community forums for your specific XPS 13 model and BIOS version — direct download links to older versions are often preserved by community members. Alternatively, contact Dell support and request the previous BIOS file directly.
After rolling back, Windows Secure Boot reports an error.
A BIOS downgrade can invalidate the Secure Boot key database if the older BIOS version has a different key set. Enter F2 → Secure Boot → Reset Secure Boot keys to factory defaults. This restores the standard Microsoft key set compatible with the rolled-back BIOS version.
Conclusion
Dell XPS 13 BIOS rollback is available directly from the BIOS Maintenance menu when the previous version is still stored in the dual-image area. When that option is unavailable, the pre-boot USB flash utility (Ctrl + Esc + Power) provides an offline path using a FAT32 USB drive with the older BIOS file from dell.com/support. After restoring a stable BIOS version, disable automatic BIOS updates via SupportAssist to prevent the unstable version from being pushed again automatically.
Leave a Reply