When you connect your Dell Inspiron laptop to a TV or monitor via HDMI, audio should automatically switch to the HDMI output. If it stays playing from the laptop speakers instead, or the HDMI audio device does not appear in Windows Sound settings at all, there is a driver or audio device configuration issue. I have fixed this on Dell Inspiron 14, 15, and 16 series laptops and this guide walks through every step clearly.
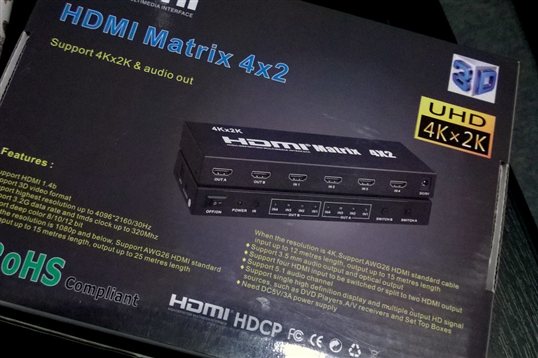
Why HDMI Audio Does Not Switch on Dell Inspiron Windows 11
HDMI Audio Device Not Set as Default Playback Device
Windows 11 does not always switch audio output automatically when an HDMI cable is connected. The HDMI audio device appears in the Sound playback list but the laptop speakers remain as the default. Applications continue playing audio through the speakers because the default device has not changed. This is the most common cause and the simplest to fix.
Realtek HD Audio Manager Overriding Windows Settings
Dell Inspiron laptops use Realtek audio hardware managed by Realtek HD Audio Manager. This application can hold the audio output selection independently of Windows Sound settings. If Realtek Audio Manager has the laptop speakers locked as the primary output, connecting an HDMI cable does not trigger a switch in the hardware layer even when Windows shows the HDMI device as available.
HDMI Audio Device Disabled in Device Manager
After a Windows update, the HDMI audio device can be left in a disabled state in Device Manager. The HDMI output carries video correctly but the audio component of the HDMI signal is not processed. In Device Manager under Sound, Video and Game Controllers, the High Definition Audio Device associated with the HDMI output may have a small arrow indicating it is disabled.
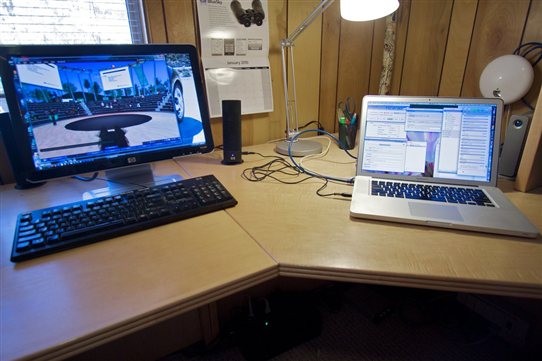
How to Fix HDMI Audio Not Switching on Dell Inspiron Windows 11
Step 1 — Set HDMI Audio as Default Playback Device
Connect the HDMI cable and ensure the TV is powered on and showing the Dell Inspiron display. Right-click the speaker icon in the taskbar and select Sound settings. Under Output, click the dropdown and look for a device named Digital Output, HDMI, or the specific TV model name. Select it. This immediately switches audio to HDMI. To keep it as default, set it as the default device in Sound Control Panel by right-clicking the device on the Playback tab and selecting Set as Default Device.
Step 2 — Enable the HDMI Audio Device in Device Manager
Open Device Manager. Click View at the top and select Show hidden devices. Expand Sound, Video and Game Controllers. Look for any grayed-out or disabled High Definition Audio Device. Right-click it and select Enable Device. This restores the HDMI audio output component that Windows may have disabled. Reconnect the HDMI cable after enabling the device.
Step 3 — Update the Realtek Audio Driver
Go to Dell’s support page and search your Inspiron model. Under the Audio section, download the latest Realtek HD Audio driver. Install it and reboot. After rebooting, reconnect the HDMI cable and check Sound settings. The updated Realtek driver includes improved HDMI audio device handshake logic that makes automatic switching work more reliably on Dell Inspiron hardware.
Enabling the hidden HDMI audio device in Device Manager and setting it as default fixed the audio switching problem on my Dell Inspiron 16 Plus. The TV now plays sound immediately when I connect the HDMI cable. — Anna L., Dell Community
Frequently Asked Questions
Why does my Dell Inspiron HDMI carry video but not audio to the TV?
This usually means the HDMI audio output is disabled or not set as the default playback device. Open Device Manager and enable any disabled High Definition Audio Device under Sound, Video and Game Controllers. Then set the HDMI audio device as default in Windows Sound settings under the Playback tab.
How do I make audio switch automatically when I connect HDMI on Dell Inspiron?
Windows 11 can switch audio automatically by going to Settings, System, Sound, and enabling the option to automatically set audio devices. This feature works when the HDMI audio device is enabled and not disabled in Device Manager. Keeping the Realtek audio driver up to date from Dell’s support page also improves automatic switching reliability.
Can I have audio play from both laptop speakers and HDMI TV simultaneously on Dell Inspiron?
Windows 11 does not natively support simultaneous audio output to two different devices. However, you can use third-party software such as VoiceMeeter to route audio to multiple outputs at the same time. VoiceMeeter is free and allows you to send audio to both the Realtek speakers and the HDMI output in parallel.
Why does the HDMI audio stop working after the Dell Inspiron wakes from sleep?
This is a known Realtek driver issue where the audio device reinitializes incorrectly after sleep. Disconnect and reconnect the HDMI cable to force the device to re-enumerate. Update the Realtek driver from Dell’s support page as newer versions include improved wake-from-sleep audio device recovery.
Conclusion
Dell Inspiron HDMI audio not switching on Windows 11 is fixed in three steps: set the HDMI audio device as the default playback device in Sound settings, enable any disabled HDMI audio device in Device Manager, and update the Realtek audio driver from Dell’s support page. For automatic switching to work consistently, keep the Realtek driver current and ensure the HDMI audio device is never in a disabled state in Device Manager.
Ryan holds a Computer Science degree and has over 20 years of hands-on experience with PC hardware, software, and driver troubleshooting. He is the author behind softwaredriverdownload.com, where he helps everyday users fix driver issues quickly and accurately.
Leave a Reply